Release: Apr 04, 2017
New Job Management Communication Features
Communication is a big part of a successful businesses - we're here to help!
Job Actions
As is also common throughout the App, swiping from the right enables Actions related to the Job

ACCEPT - The green Accept button formally accepts the job. This will change the status of the job in the Scheduler to Accepted.
REJECT - The Yellow REJECT button formally rejects the job. This will change the status of the job to Unassigned and will require re-scheduling and dispatching from the Management Portal.
RE- SCHEDULE - The grey RESCHEDULE button enables the user to re-schedule the job appointment to another time.
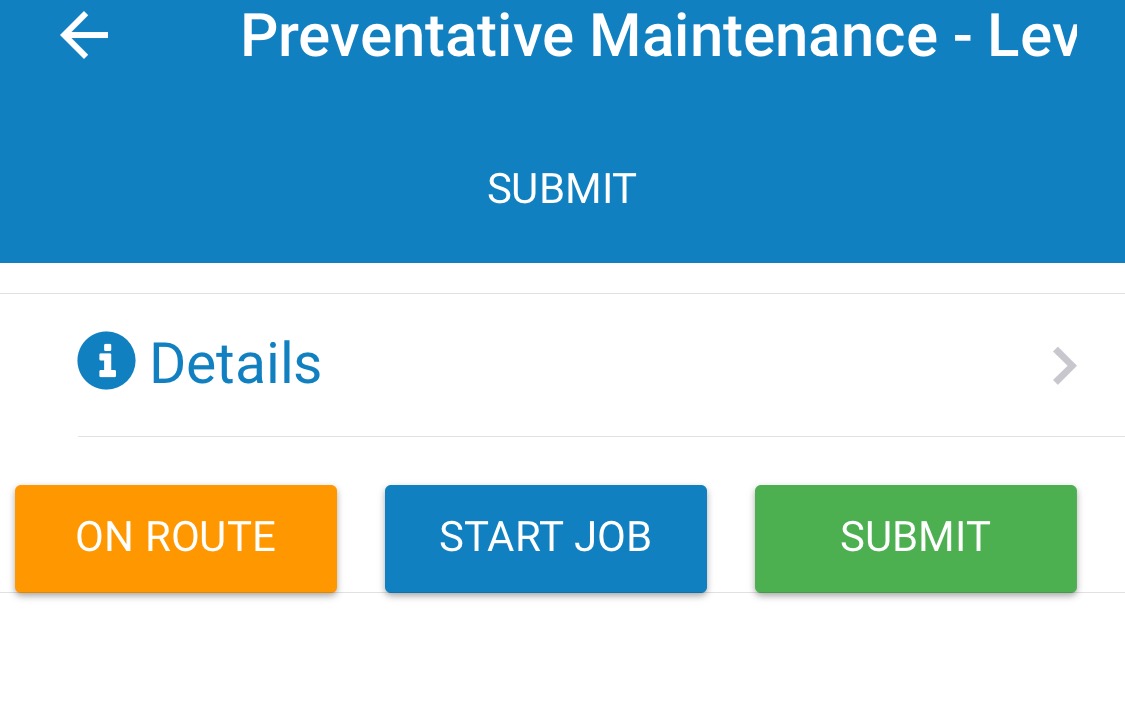
Accepted Job
Once a job has been Accepted, it can be started by either selecting the blue START JOB button or if travel is involved, by selecting the orange ON ROUTE. The green SUBMIT button is to submit the job when complete.

On Route
When ON ROUTE is selected, the following page is available showing the location of the job and the user’s current location. Travel time is monitored and the “Get Directions” option provided route assistance. There are four options at the bottom of the page:
PAUSE - pause for travel break.
ARRIVED - indicating user has arrived at the job location
LATE - enabling the user to communicate with the customer by phone or send a late message SMS
CANCEL - to cancel the On Route status

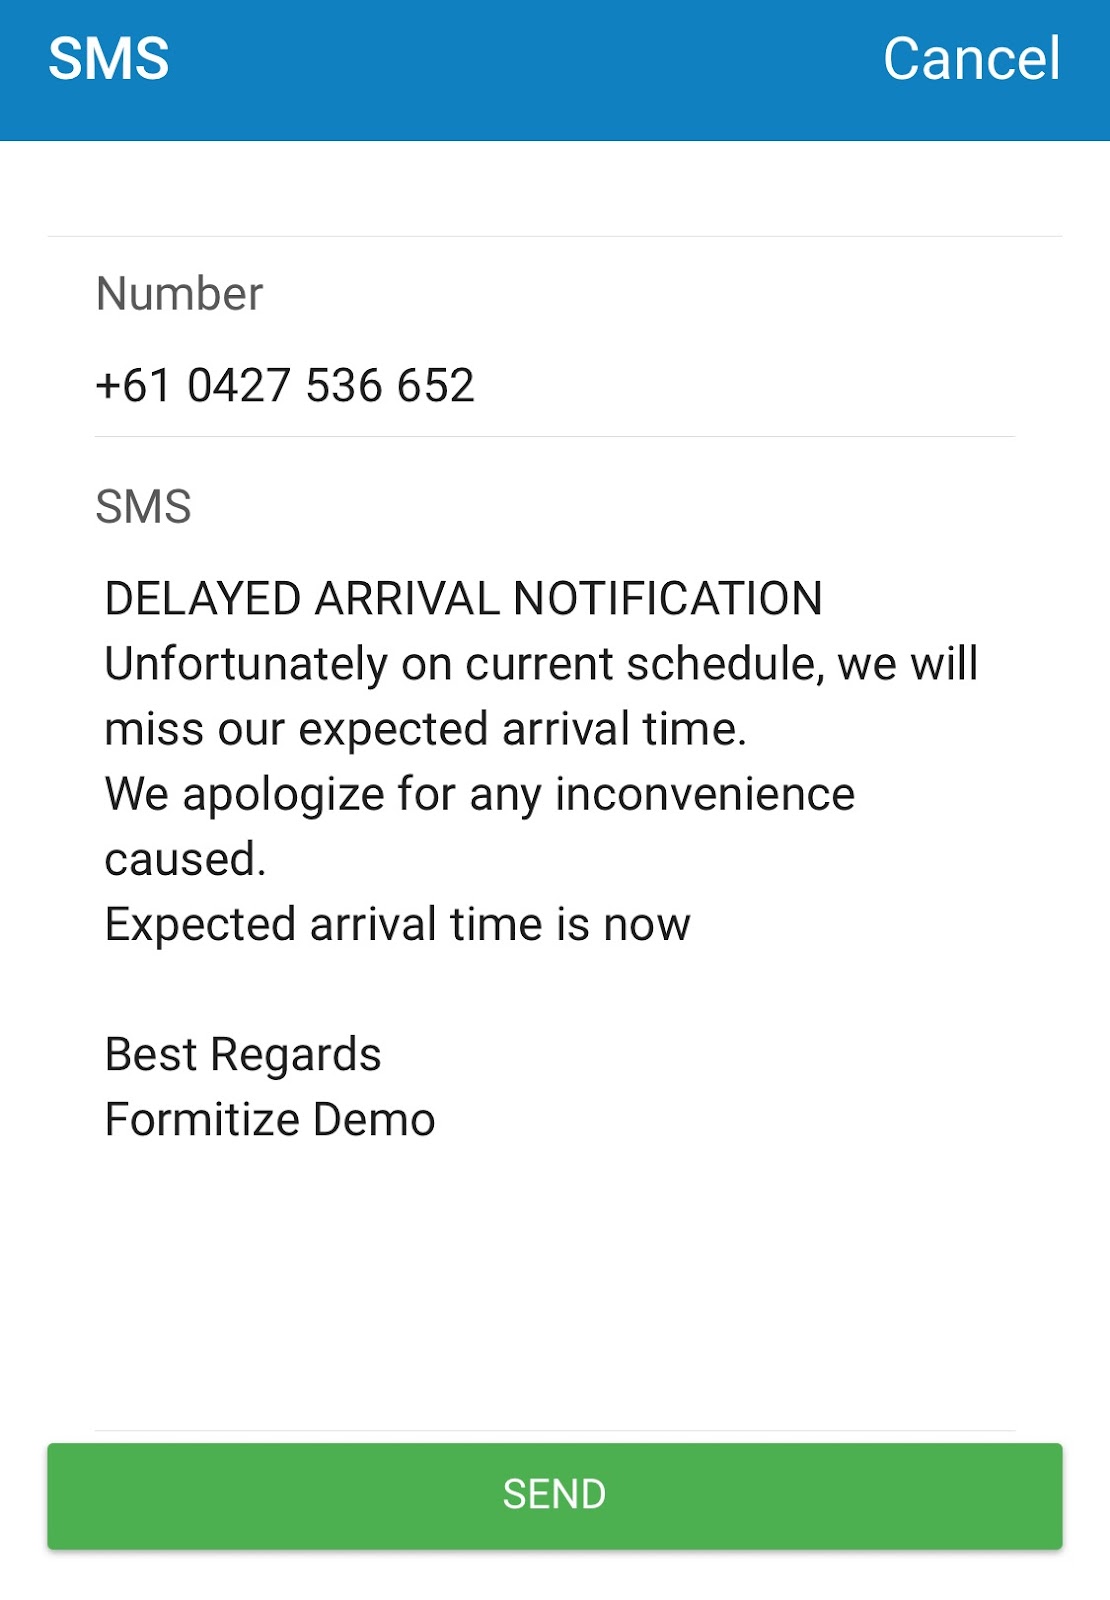
Late
If late is selected (and the SMS option chosen) a window will appear with the late message as below. The Contact’s mobile/cell number will auto-populate if known. The user simply needs to enter the expected arrival time at the end of the message to keep the customer fully informed. Names and Company names will auto-populate if the CRM solution is being used.
Arrived
Once the user has arrived on site and selected ARRIVED, the page will appear as below. The Details section of the job has been compressed, however the user can simply click on the Details header to expand the section and review the job details again.
To Start the job, simply select START JOB and this will reveal the forms required for the job type.
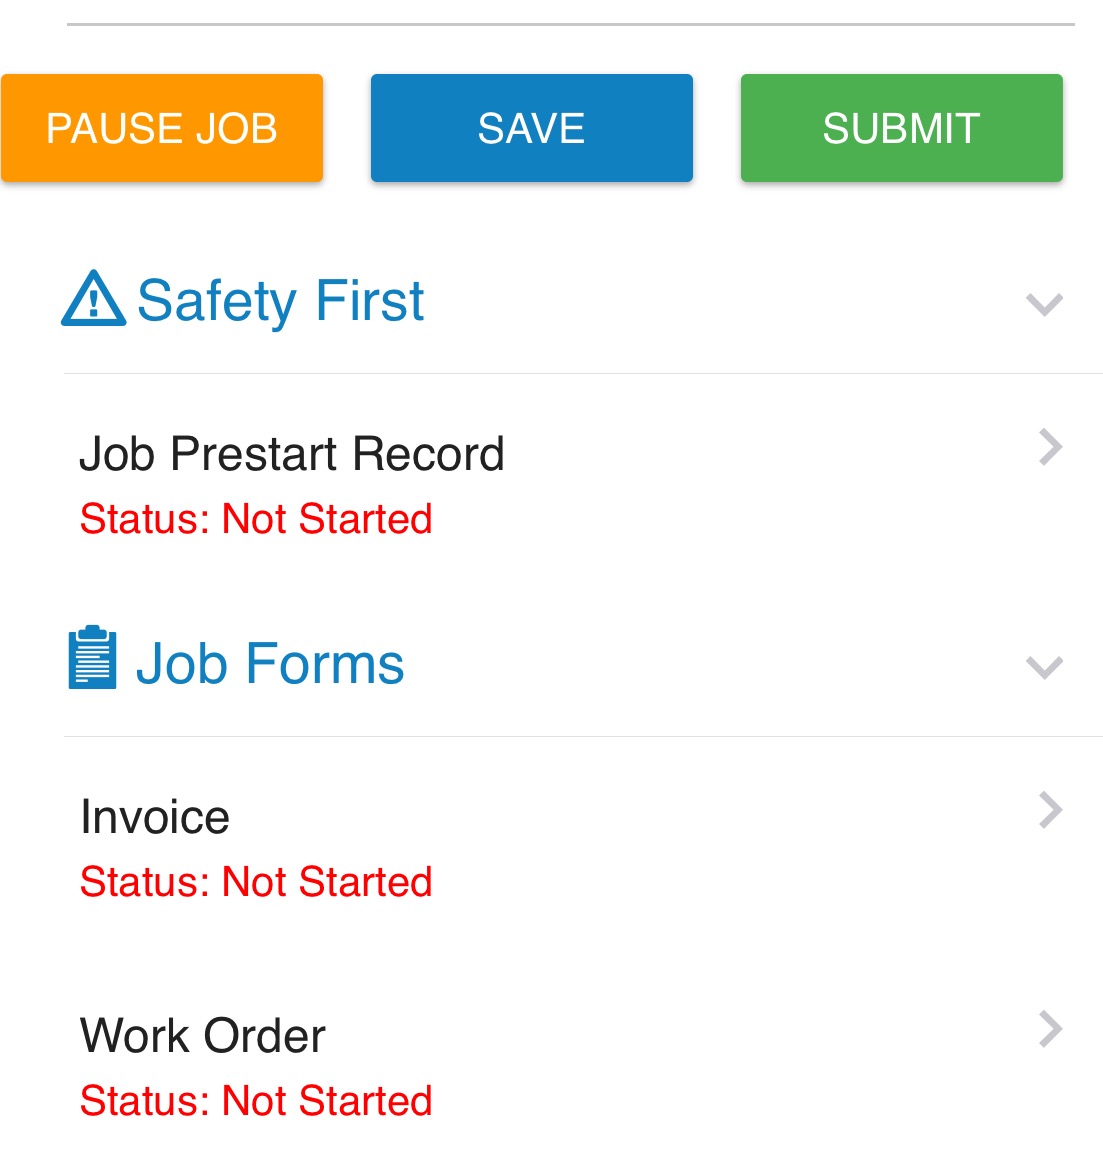
Starting the Job
To Start the job, simply select START JOB and this will reveal the forms required for the job type. In the example below, there is one Safety First form to be completed ( Job Prestart Record) and two Job Forms to be completed ( Invoice and Work Order)
Safety First forms are created the same way as any other form, but are designated as a Safety First form by checking the Safety FIrst Form box when creating the form. You can then set rules for the Safety First Forms as to whether they must be completed before the Jobs forms can be accessed. This rule is managed in Job Types or in the Create Job page.
The status of the Forms (in the example below, all are currently “ NOT STARTED” ) will automatically update as progress of the forms is made.
Safety First
The message below is what the user will see if they attempt to commence one of the Job forms before completing the Safety First forms. This is a conditional setting in the Job Type.
Job Types enable different Safety First forms to be added for the different Job Types and the completion rules can also be customized on a Job Type basis.

SUBMIT - Job completed
Once all forms have been completed, the Job is ready to be Submitted and all related actions will be triggered.
For more details, please refer to the Getting Started Guide.
Formitize - Making Paperwork Paperless