Lesson 2.10
Lesson 3.2
The Management Portal has many features but is primarily designed to:
- Help you Create your Forms
- Create, Dispatch, Schedule and View Active Jobs
- Store and Manage Resource Documents
- Receive, View, Edit & Store all Submitted Forms
- Complete and Submit Web-Based Form from the Management Portal
- Create PDF and Email Reports
- Enable Reporting on your data
- Create and Manage Databases that can be linked to your forms
- Provide the tools to integrate with other solutions.
- Manage your Users and their permissions
The First Steps are normally:
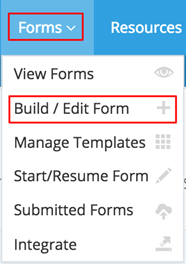
- Build a New Form and Dispatch it to the App (Forms > Build New Form).

You may already have forms pre-built and automatically assigned to your account.
- Download the App and see the Forms you have built (or the Forms that were automatically added to your account)
- Complete the Form in the App and Submit it.
- Review the Submitted Form back in the Management Portal (Forms > Submitted Forms)
- View the PDF of your Submitted Form (Forms > Submitted Forms > Select Form > View PDF)
- Then review the Jobs section where you can create a Job, attach the relevant forms and then Dispatch the Form to a mobile App User.
Completing Forms in the Management Portal (rather than via the Mobile App)
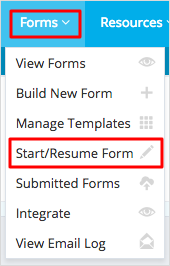
Once a form has been created, it can then be completed not only via the Mobile App but also from the Management Portal. To access the forms go to Forms > Start / Resume Form in the Forms Menu:

Or, you can also select the Start New Form via the green Quicklink button located on various pages throughout the Portal:

We will cover off all of the steps and more in following sections of the Guide.